LINEA
TRAP FOR FLOOR-LEVEL SHOWERS
DOCUMENTS AND RESOURCES
| Linea: traps for floor even showers | L02-743/0 |
| Floor level shower systems | L02-913/4 |
| Linea trap | T02-179 |
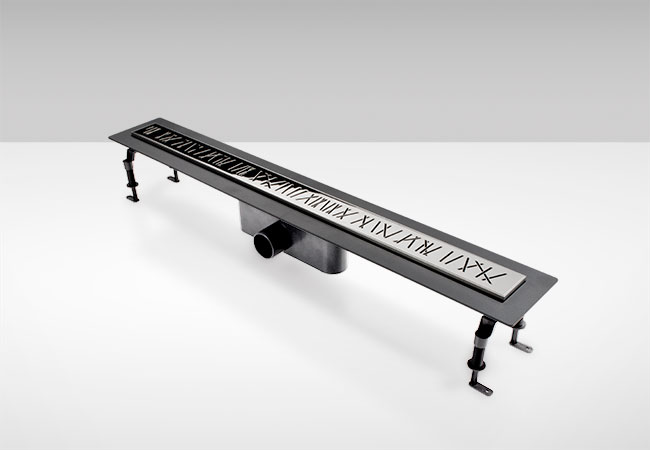
Consisting of a main trap body and a wide range of gratings available in different sizes, the Linea system allows for floor-level showers of various sizes.
The height adjustment of the grating support and the trap body allows you to adapt to different installation requirements and covering thicknesses.
ADVANTAGES OF
DESIGN
GRILLE LINE
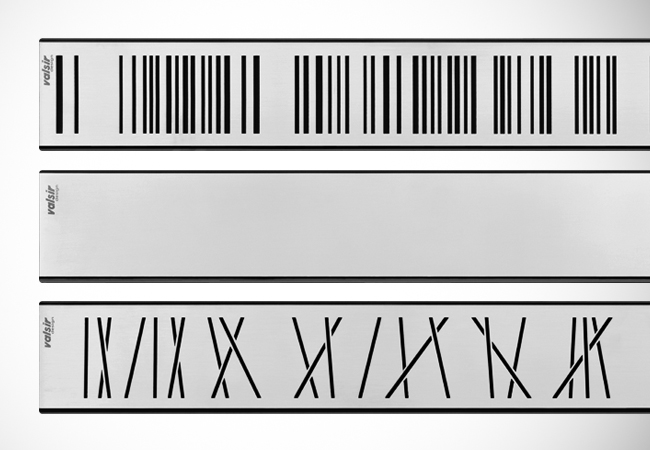
A solution with a high aesthetic impact thanks to the elegantly designed stainless steel gratings available in lengths: 300 - 700 - 800 900 - 1000 - 1200 mm.
CUSTOMISATION
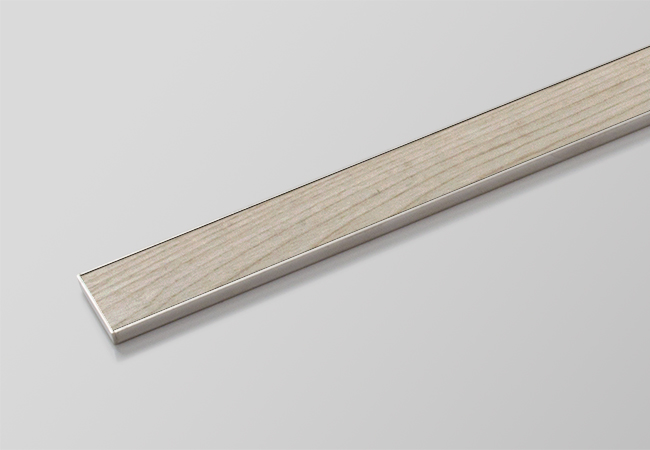
The grating design can be customised and tiled with the same floor covering as the bathroom floor.
FULLY ADJUSTABLE
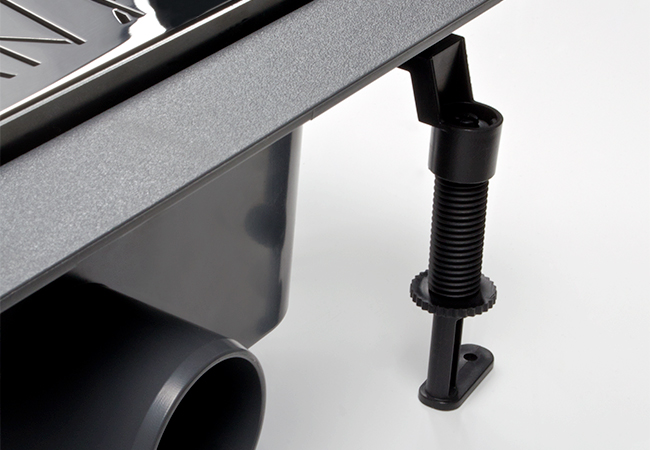
Height adjustment of the grating support from 7 to 15 mm for perfect adaptability to the thickness of the tiles, and of the trap body, from 111 to 143 mm.

HYDRAULIC SEAL
A hydraulic seal of 50 mm for an effective barrier against odours.

HIGH FLOW RATE
The Linea trap provides a drainage capacity of 40 l/m, which allows the use of high-flow shower heads.
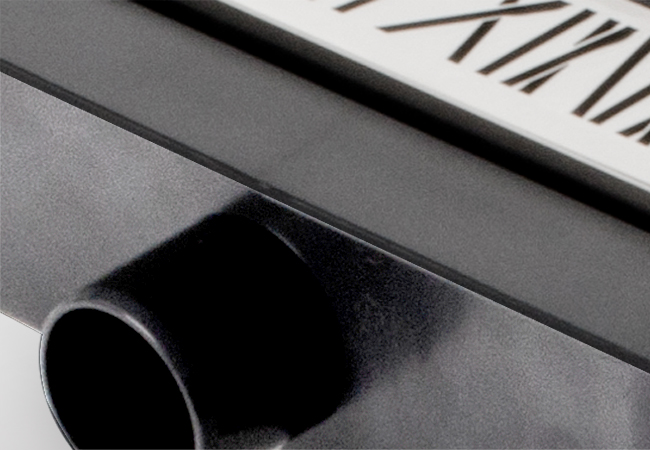
ABS BODY
The trap body is made of ABS to facilitate the adhesion of waterproofing systems, for perfect installation.
INSTALLATION
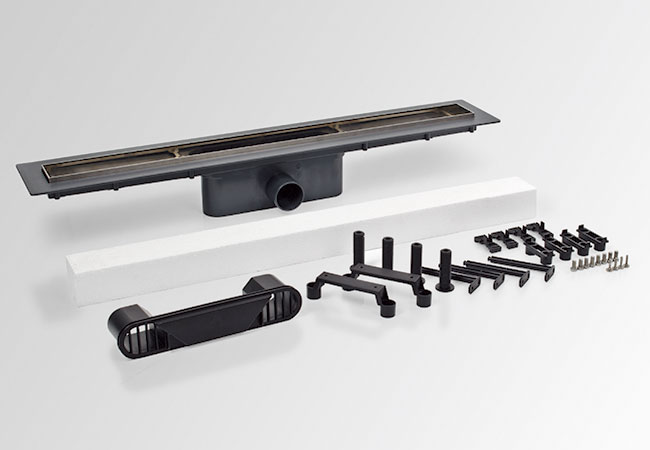
Phase 1
Please ensure that you have the correct size grating, which must be purchased separately. The package includes the trap body with hydraulic seal, the height-adjustment kit, the protective cap made of EPS foam, the height-adjustable grating support and the installation instruction sheet.
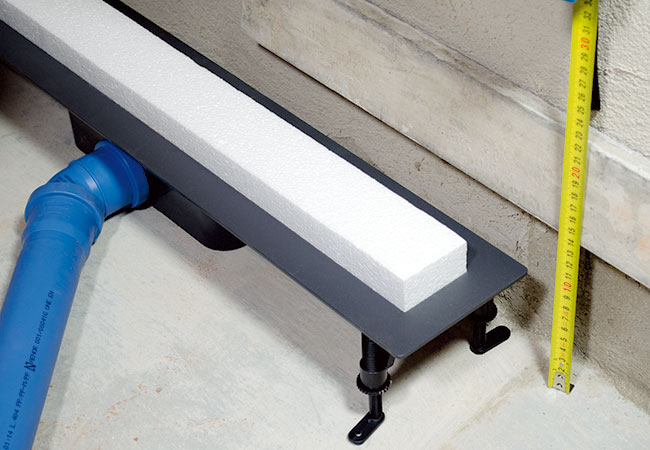
Phase 2
After attaching the height-adjustment brackets to the trap body, connect the drain pipe (50 mm diameter) and adjust the height of the feet to the desired height.
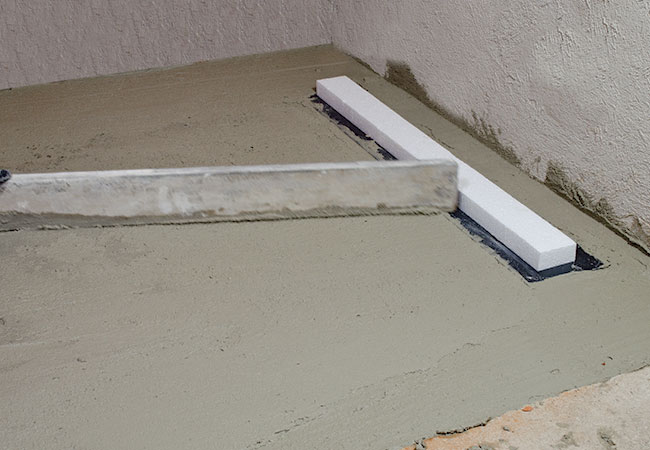
Phase 3
Verify the correct planarity of the trap body with a spirit level. Create the slab with an adequate slope for correct drainage (minimum slope 2%).
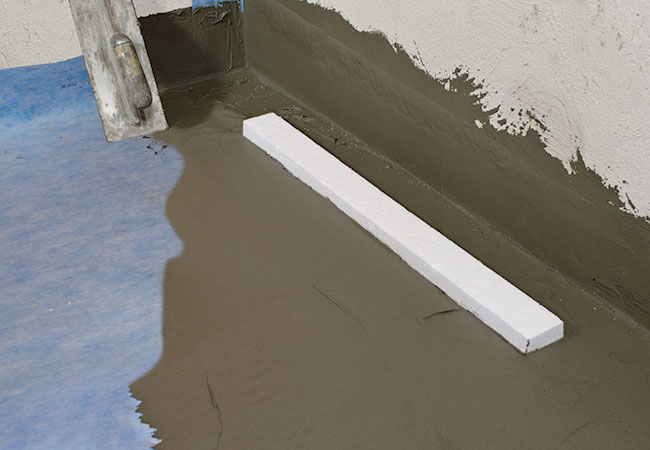
Phase 4
Proceed with the waterproofing of the floor and walls.
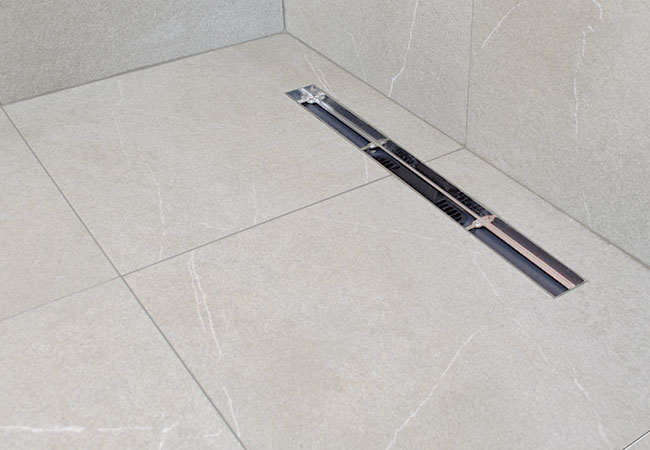
Phase 5
Remove the protection in EPS and adjust the height of the grating support to the depth of the covering. Proceed with tile laying.
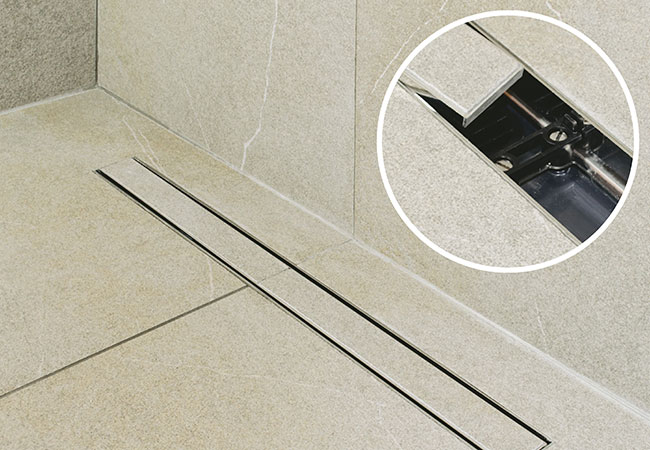
Phase 6
If using the tiled grating, after laying the covering in the grating, place it in the support. The tilable grating is made of stainless steel and can also be used as in the inox version.
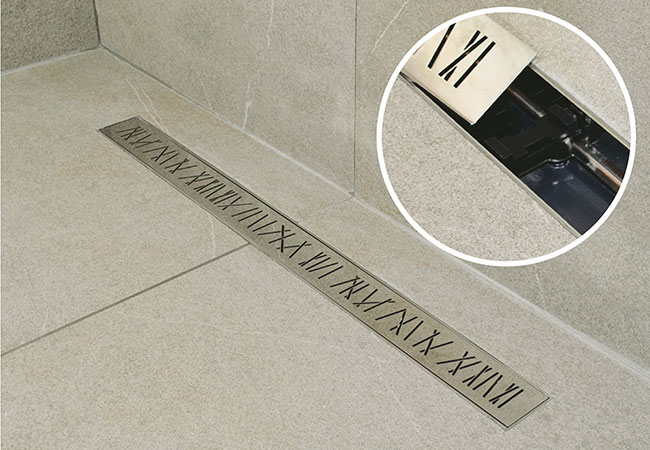
Phase 7
Before inserting the Valsir design grating, proceed with the installation of the suitable spacers.
Phase 8
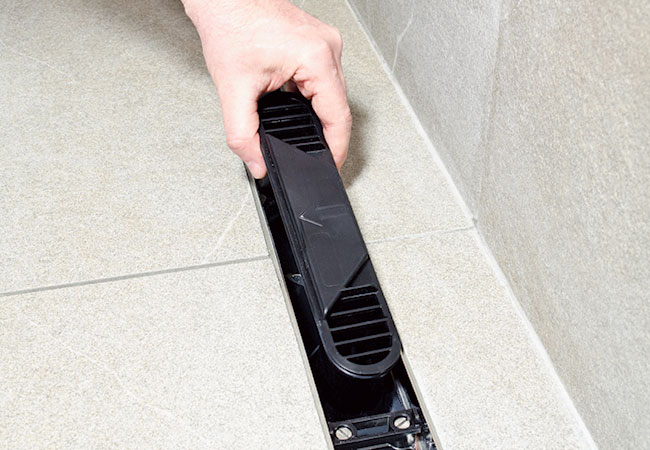
To clean the system just remove the grating and the conveyor.
 Italiano
 English
 Deutsch
 Français
 Español
 Greek
Greek